Most cloudiness is caused by oxidation, UV damage, and everyday wear and tear. Over time, sunlight breaks down the plastic lens, leaving it dull and yellow. Environmental factors like dirt, road grime, and road salt can worsen the problem, leaving your headlights not only cloudy but also scratched.
The good news? You don’t need to spend hundreds of dollars at a professional shop to restore your headlights. This guide will show you practical, safe, and cost-effective methods to clean cloudy headlights at home, including DIY solutions, professional kits, and tips to protect them afterward.
Why Headlights Become Cloudy?
Understanding the cause of cloudiness helps you prevent it from recurring. Here are the main factors:
UV Oxidation and Sun Exposure
Most modern headlights are made from polycarbonate plastic, which is lightweight but susceptible to ultraviolet (UV) rays. Prolonged exposure to sunlight causes the outer layer of plastic to oxidize, resulting in a hazy or yellowish appearance. Older vehicles, especially those parked outdoors frequently, are the most affected.
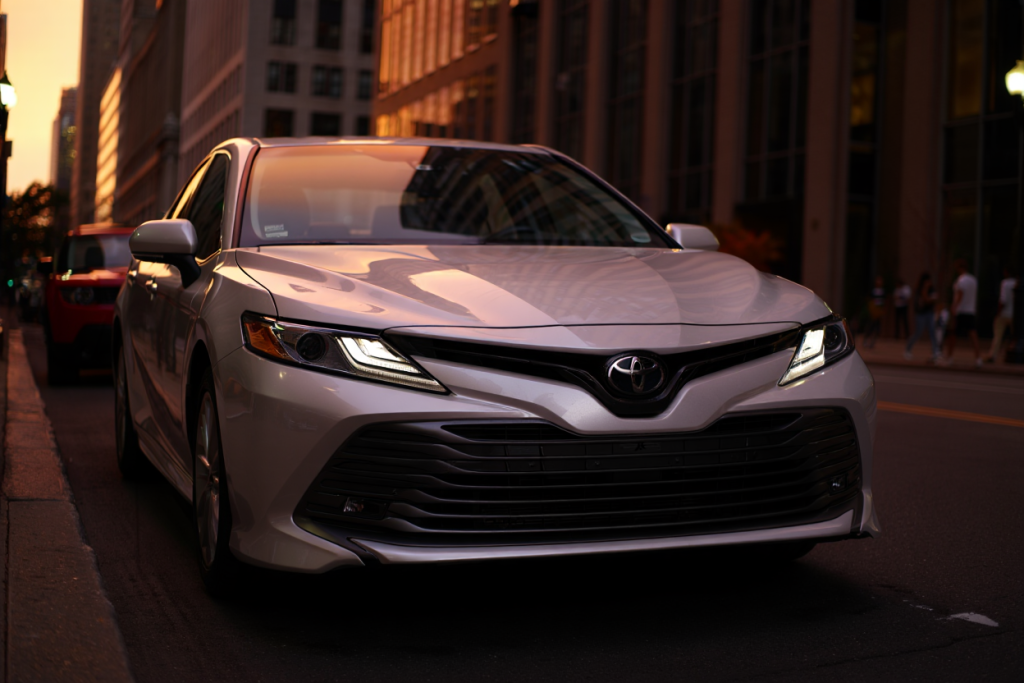
Example: A 10-year-old Toyota Camry parked outside in full sun develops a yellow tint, while a newer Audi with protective coatings may stay clear longer.
Dirt, Grime, and Road Salt
Daily driving exposes headlights to dust, dirt, and chemical residues from roads. In winter, road salt accelerates oxidation, and small scratches accumulate from particles. Left unchecked, grime builds up and embeds into the plastic, making cleaning more difficult over time.
Moisture and Internal Fogging
Sometimes cloudiness is due to moisture trapped inside the headlight assembly. Cracks or poorly sealed units can allow condensation to form, creating a hazy film. While external cleaning helps, internal moisture may require sealant repair or replacement.
DIY Methods to Clean Cloudy Headlight Lenses
Several home remedies work surprisingly well if done carefully. Here’s a breakdown of the most popular methods:

Toothpaste Method
Toothpaste is a mild abrasive that can buff away oxidation from headlight lenses.
Step-by-Step:
- Clean the headlights with soap and water.
- Apply a small amount of non-gel toothpaste to a soft cloth or sponge.
- Rub in circular motions over the headlight surface for 3–5 minutes.
- Rinse with water and dry with a microfiber towel.
Pros:
- Inexpensive and accessible.
- Safe for plastic surfaces.
Cons:
- Works best for light cloudiness.
- May require multiple applications for heavily oxidized lenses.
Baking Soda and Vinegar
This combination works as a natural chemical cleaner. Baking soda acts as a mild abrasive, while vinegar helps break down oxidation.
Instructions:
- Mix 2 tablespoons of baking soda with enough vinegar to make a paste.
- Apply the paste to the headlight with a soft cloth.
- Rub in circular motions, applying gentle pressure.
- Rinse and dry thoroughly.
Pros:
- Uses common household ingredients.
- Effective for moderate cloudiness.
Cons:
- Acidic vinegar can damage surrounding paint if spilled.
- Requires careful application and rinsing.
Sandpaper Wet Sanding and Polishing
For heavily oxidized headlights, wet sanding is the most effective DIY method. This method physically removes the oxidized layer, revealing clear plastic beneath.
Materials Needed:
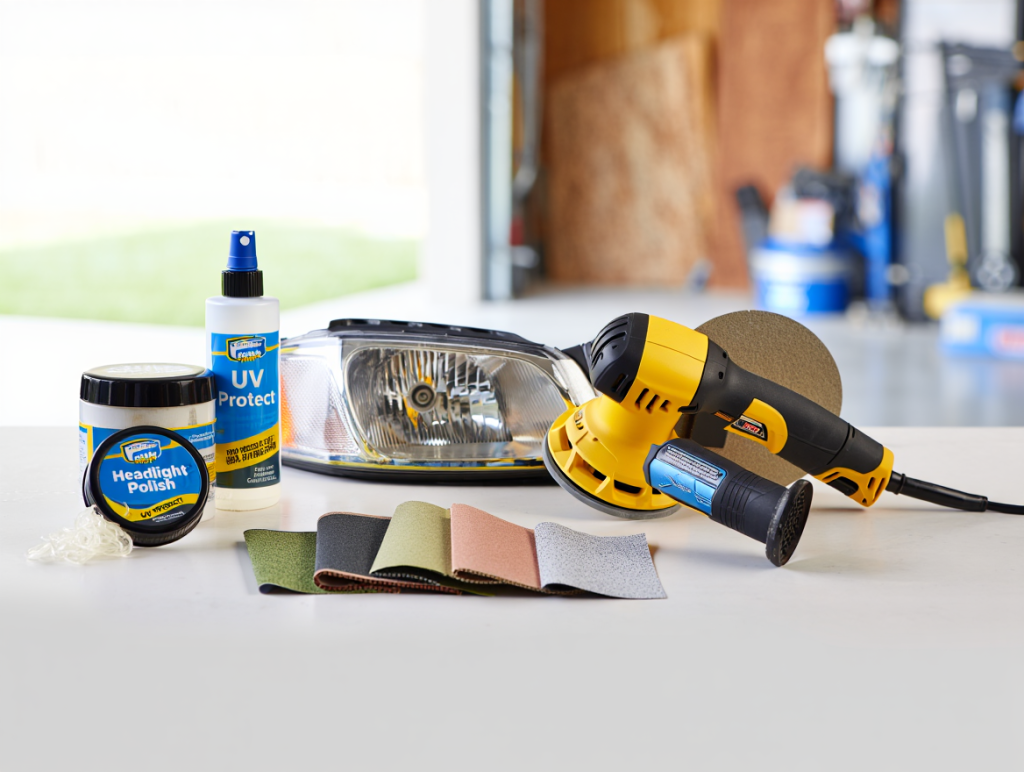
- Wet/dry sandpaper (800, 1000, 2000 grit)
- Spray bottle with water
- Polishing compound
- Microfiber cloth
Step-by-Step:
- Wash and dry headlights. Mask the surrounding paint.
- Start with 800-grit sandpaper, wet the surface, and sand in horizontal motions.
- Progressively use 1000-grit, then 2000-grit, sanding evenly.
- Apply polishing compound with a microfiber cloth in circular motions.
- Rinse, dry, and apply a UV sealant or wax.
Pros:
- Works for heavily oxidized lenses.
- Produces near-professional results at home.
Cons:
- Time-consuming and requires patience.
- Risk of scratches if not careful.
Part 1 Summary
In this first part, we’ve covered:
- Why headlights get cloudy: UV damage, dirt, and moisture.
- DIY cleaning methods: Toothpaste, baking soda & vinegar, wet sanding.
- Practical tips: Mask paint, use gentle pressure, apply wax afterward.
In Part 2, we’ll cover:
- Commercial restoration kits
- How to protect headlights after cleaning
- Cost comparisons vs. professional restoration
- Common mistakes to avoid
- Extended FAQs and a safety-focused conclusion
Commercial Headlight Restoration Kits
For those who want DIY convenience with professional results, commercial restoration kits are an excellent option. These kits typically include:
- Sandpaper or abrasive pads of varying grit
- Polishing compounds
- UV protective sealant or clear coat
- Microfiber cloths or applicator pads
How to Use:
- Wash and mask the headlights.
- Sand according to instructions (usually wet sanding).
- Apply the polishing compound evenly.
- Finish with the included UV sealant to prevent future yellowing.
Pros:
- Easier and more reliable than household methods.
- Often comes with step-by-step instructions.
- Works well even for heavily oxidized lenses.
Cons:
- Costs $15–$30 for most kits.
- Some cheaper kits may lack durable UV protection.
Protecting Headlights After Cleaning
Cleaning alone isn’t enough; untreated lenses will oxidize again within months. Protect them using:
- UV sealant or headlight wax: Prevents sun damage and yellowing. Reapply every 3–6 months.
- Regular waxing of your car: Helps shield headlights from environmental exposure.
- Parking in shade or using a car cover: Reduces UV impact.
Quick Maintenance Tip: Even a weekly wipe with a damp microfiber cloth removes dirt before it scratches the lens.
Cost Comparison: DIY vs Professional vs Replacement
| Method | Cost | Lifespan | Pros | Cons |
| DIY toothpaste/baking soda | $5–$10 | 1–3 months | Cheapest, easy | Short lifespan, less effective |
| Wet sanding + polish | $10–$20 | 6–12 months | Effective for heavy oxidation | Time-consuming, skill needed |
| Commercial kit | $15–$30 | 6–12 months | Easy, step-by-step | Some kits lack durable UV sealant |
| Professional restoration | $80–$150 | 1–2 years | Long-lasting, expert results | Expensive |
| Full replacement (OEM) | $300–$1,000 | Lifetime | Perfect clarity | Very costly |
Common Mistakes to Avoid
- Using harsh chemicals like bleach or ammonia — can cause permanent damage.
- Skipping UV protection — oxidation will return quickly.
- Over-sanding — too aggressive sanding can scratch or thin the lens.
- Cleaning a wet or dirty lens without masking paint — risk of scratches or staining surrounding areas.
- Not following product instructions — even the best kits fail if used incorrectly.
Conclusion
Cloudy headlights reduce your visibility and compromise safety, but with the right methods, you can restore clarity at home. Toothpaste, baking soda, or sandpaper can work for DIY enthusiasts, while commercial kits provide convenience and professional-quality results.
Remember: the key to long-lasting clarity is UV protection and regular maintenance. Investing a little time and effort now can save you hundreds of dollars, improve night driving safety, and enhance your car’s appearance.
FAQs About Cleaning Cloudy Headlights
How long does DIY cleaning last?
With proper UV protection, DIY cleaning can last 6–12 months. Without sealant, oxidation may return in just 2–3 months.
Can I use toothpaste on all headlights?
Yes, but non-gel white toothpaste is best. Gel varieties may contain dyes or additives that leave residue. Works well for light oxidation.
Is WD-40 safe for cleaning headlights?
WD-40 can temporarily remove haze but is not a long-term solution. It does not restore the oxidized layer or provide UV protection.
Why do my headlights get cloudy again so fast?
Excessive sun exposure, poor quality cleaning, or lack of UV sealant accelerates re-oxidation. Environmental factors like road salt also contribute.
Should I replace headlights instead of cleaning?
Replace only if cracked, leaking, or severely damaged. Cleaning and UV protection are far more cost-effective for normal oxidation.
Is it safe to use chemical cleaners with plastic headlights?
Only use cleaners specifically labeled safe for plastic. Household solvents or abrasive cleaners can cause irreversible damage.
Do commercial kits really work better than toothpaste?
Yes. Kits include polishing compounds and UV sealants designed to remove deeper oxidation and protect lenses long-term.
Can moisture inside headlights be removed at home?
Small amounts can be dried using heat or silica gel packs. For persistent moisture, professional resealing or replacement may be necessary.

Benjamin Grey is an automotive engineer and writer at Car Parts Advisor. With years of experience in the automotive industry, he shares expert advice on car parts, maintenance, and repairs to help car owners keep their vehicles running smoothly.


